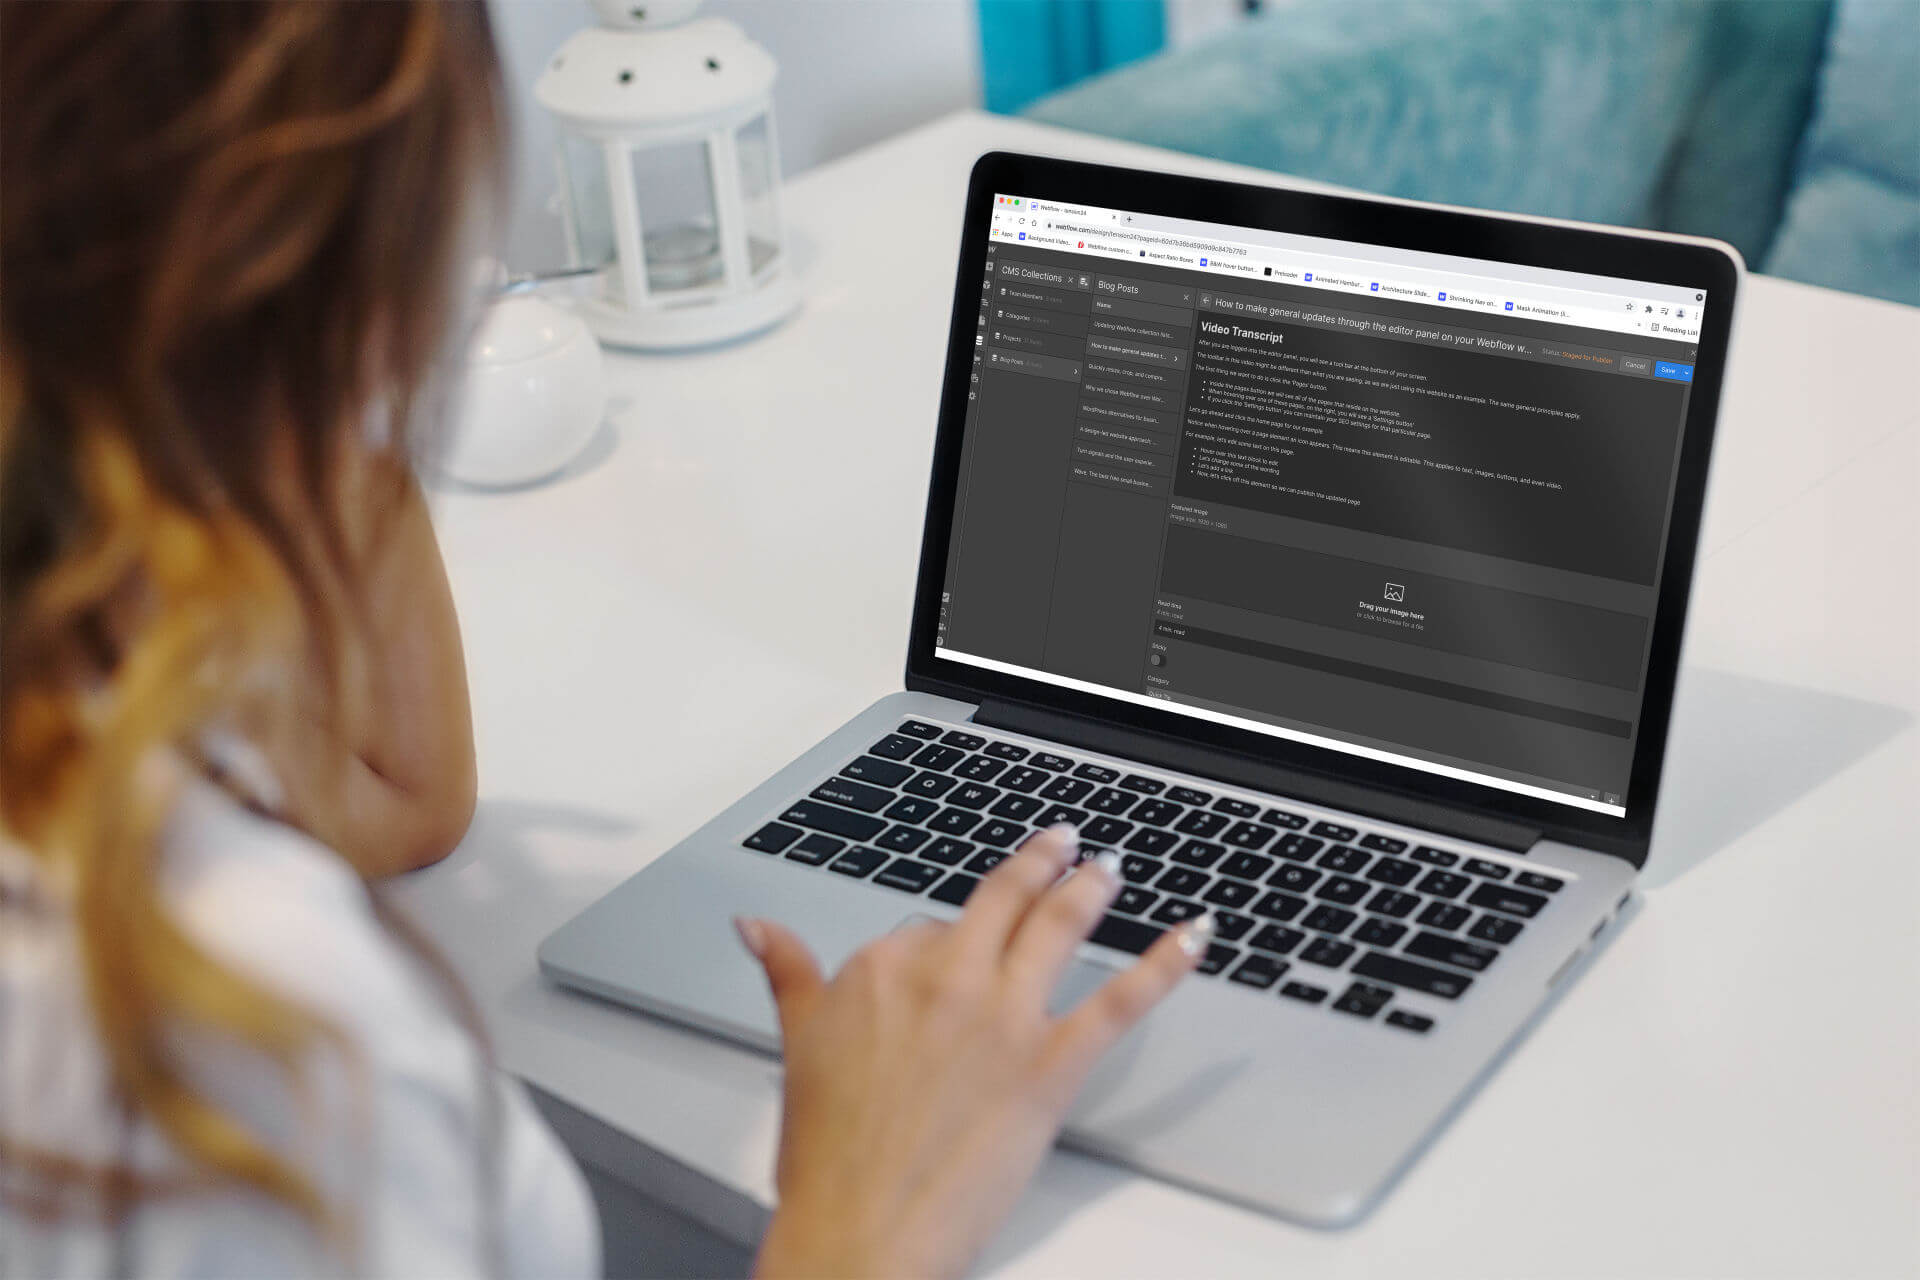
Updating Webflow collection lists through the editor panel

Quick use of the editor panel
Video Transcript
This particular tutorial will be based on adding content to your Webflow project collection items.
After you are logged in as an editor:
- We are going to click the ‘Collections’ button in the toolbar
- This will open up all of the ‘Collections’ on your website.
What you are seeing in this example video might be slightly different than what you see for your project, but the general principles will remain the same.
We are going to add a new “Blog Post” to this example website
- Start by clicking the ‘Blog Posts’ section
- Here you can see the other blog posts that are on the website
- Let’s click the “New Blog Post” button.
- First let’s give this a name
- We’ll also pick a category and a category icon.
- Again, this is an example site, you may not have these fields on your project, but the principles are still the same.
- Next let’s add a featured image.
- Please notice the image requirement size
Now we can add our content into the ‘Post Body’
Copy / Paste
The best thing to do is always type your content directly into the editor. This leaves no room for formatting mistakes. If you need to copy content from another document and paste it into the Webflow editor, here is the best practice.
To copy and paste content from a Word document or other source, select the text to copy (Mac: Cmd + C, Windows: Ctrl + C)
In the Webflow editor, click into the box where you are going to paste the text.
On Mac, hold down: Shift + Option + Command + V to paste the text without formatting.
On Windows, hold down: Control + Shift + V to paste the text without formatting.
We want to copy the text without any formatting because certain programs like Microsoft Word, will leave hidden characters and ugly spacing.
We will reformat the content inside the Webflow editor.


